Set up roles
Last updated About 1 month ago
Summary
Roles in Reah define what each team member can view, initiate, and approve.
Combined with Approval Flow, roles help ensure:
Each person can take the actions they need.
Critical operations are reviewed before execution.
You can assign roles when inviting members and update them at any time.
Default roles
Reah provides four default roles. Assign roles based on responsibilities, not job titles.
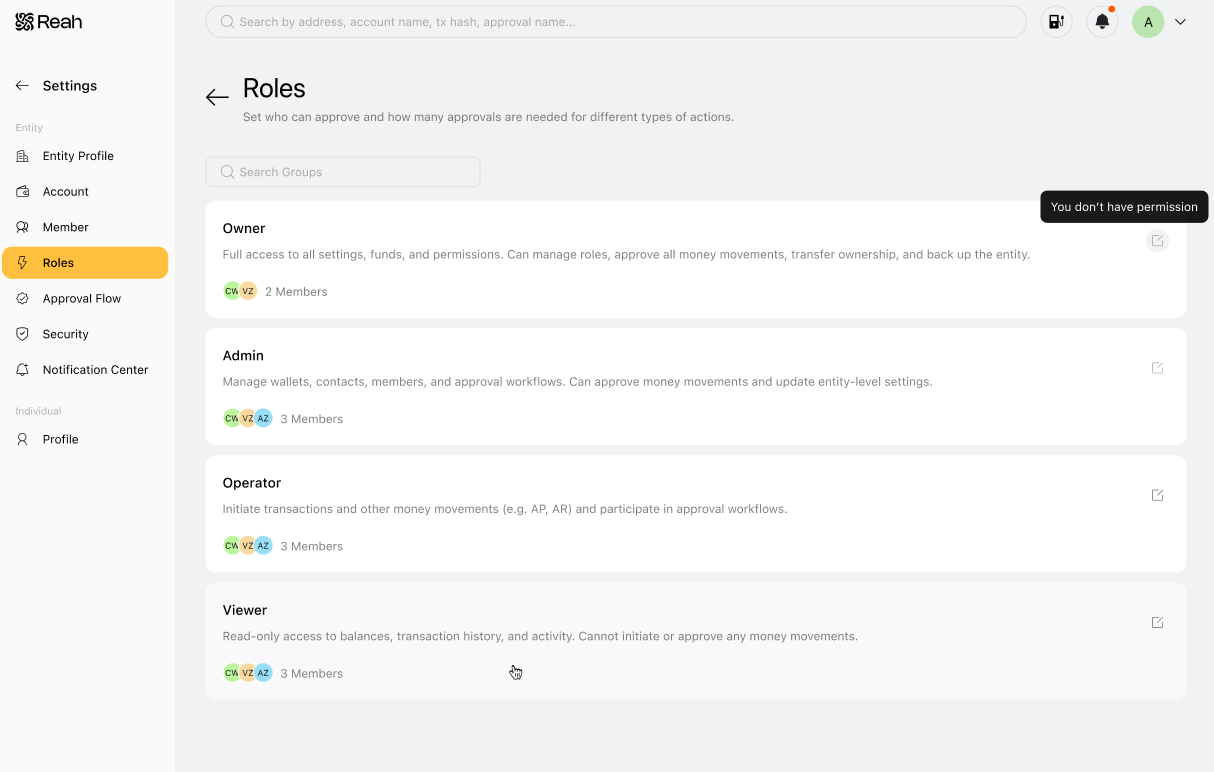
Owner (Founders, CFOs)
Full access across all modules
Can initiate and approve all actions
Can manage members and roles
Admin (Controllers, finance leads)
Can view and manage accounts, transactions, and financial data
Can initiate actions such as transfers and treasury operations
Can configure approval workflows
Can manage members and roles
Some actions initiated by Admins, such as member changes or high-value transactions, can require Owner approval.
Operators (Department leads)
Can view data
Can initiate actions such as transfers and treasury allocations
Cannot approve actions
All actions must go through approval workflows before execution.
Viewer (Auditors)
Read-only access
Cannot initiate or approve actions
Permissions overview
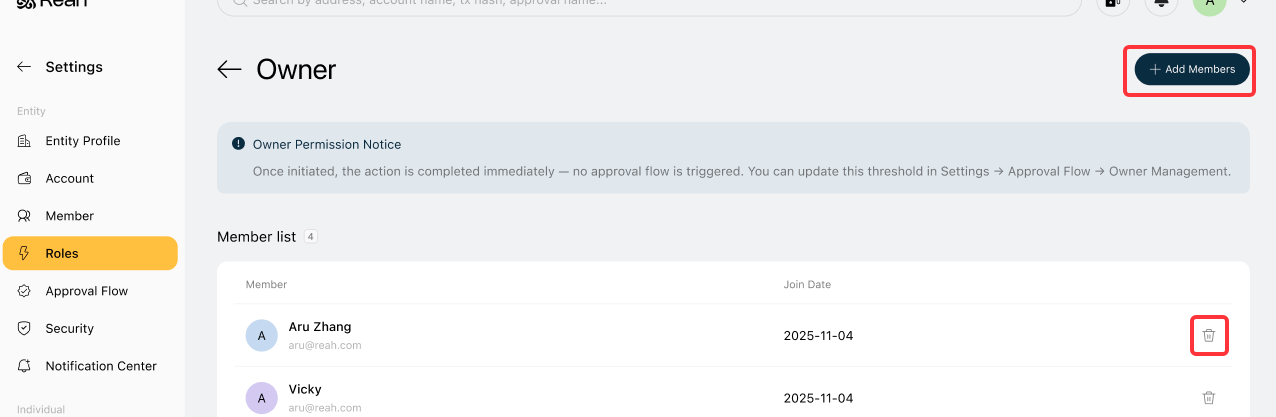
Manage members and roles
To add or remove members, or update someone’s role:
Go to Settings → Entity → Roles.

Select a role.
Click Add members or Remove members.
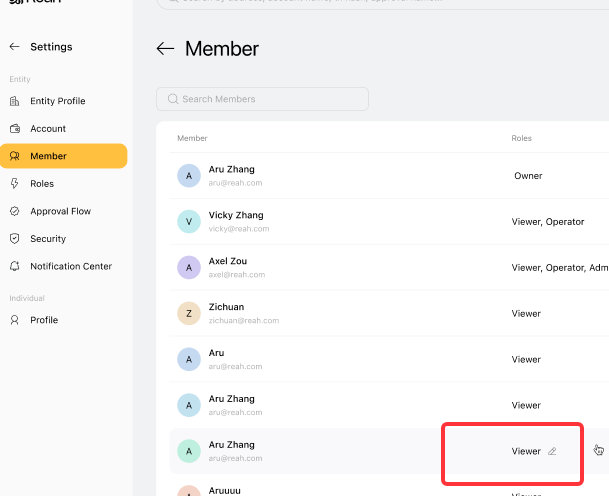
Roles can also be updated directly from the Settings → Member page.
Approval rules for member and role changes
Member and role changes are treated as user and permission change requests and can require approval:
Requests initiated by Admins require Owner approval.
Requests initiated by Owners are approved immediately.
How roles work with approvals
In Reah:
Roles define who can take actions.
Approval Flow defines whether those actions can be executed.
For example:
A Member can initiate a transfer.
The transfer only executes after it is approved.
Best practices
Start with the lowest level of access and increase only when needed.
Limit the Owner role to a small number of trusted people.
Use the Admin role for day-to-day operations instead of Owner.
Review access regularly and remove users who no longer need it.